Windows
MobaXterm
MobaXterm is an SSH client application with a builtin X11 server and file browsing via SFTP (and much more). It can be used as an alternative to PuTTY and WinSCP.
You can download it at https://mobaxterm.mobatek.net/ .
Generate the Key
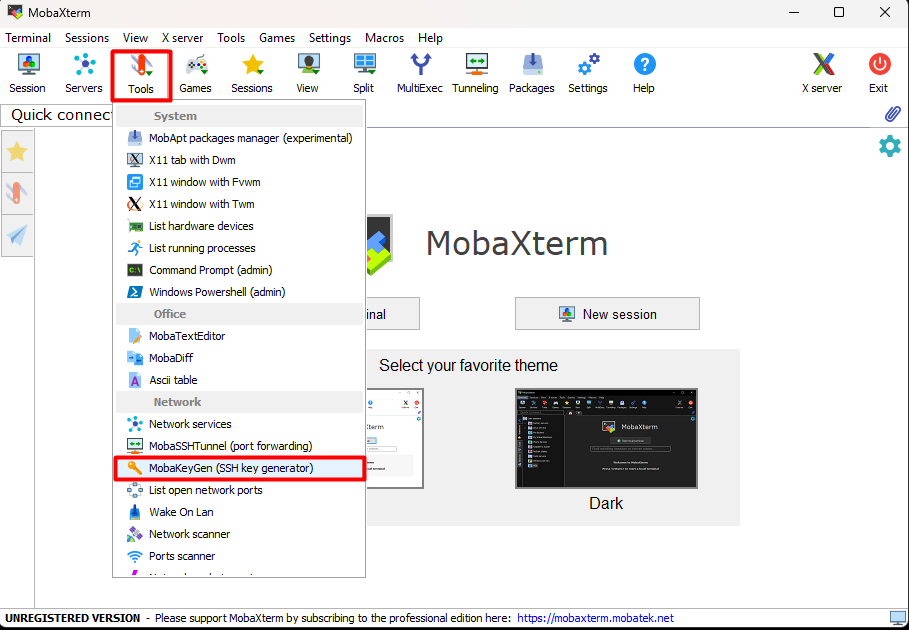
Click on Tools and MobaKeyGen (SSH key generator)
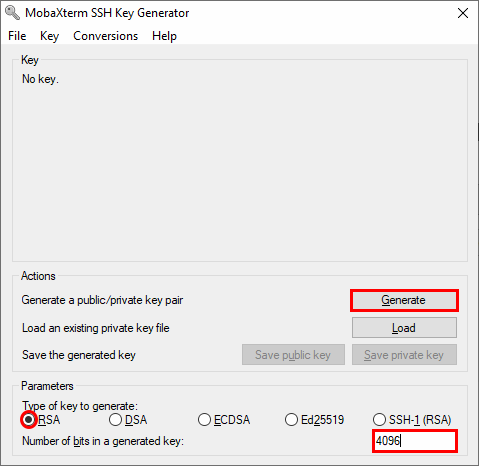
In the section Parameters make sure to set the following properties:
- Type of key to generate:
RSA(this is theSSH-2protocol) - Number of bits in a generated key: 4096
If all is set, hit the Generate button.
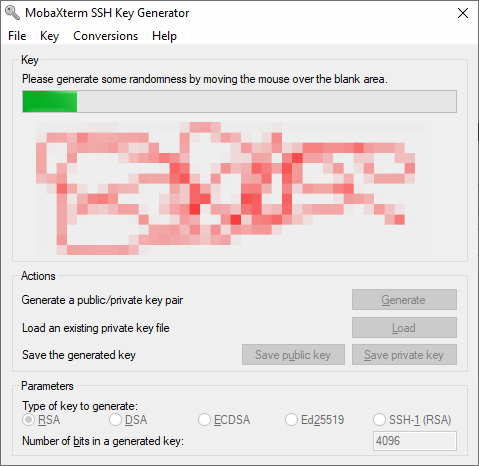
During generation, move the mouse cursor around in the blank area.
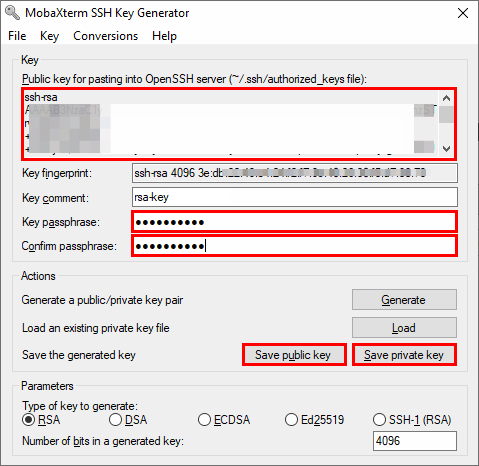
When finished, make sure to protect your generated key with a passphrase. Save the private and public key. The default name under Linux for the public key is id_rsa.pub and id_rsa for the private key, but you can name them however you want (the .pub is NOT automatically added). Note that in the whole cluster wiki we will use this file naming convention. Also note that the private key will be stored in Putty format (.ppk, this extension is added automatically).
You should set a passphrase when generating your private key. This passphrase is used for encrypting you private key to protect it against the private key file theft/being lost. When using the key for login, you will have to enter it (or the first time you load it into the SSH key agent). Note that when being asked for the passphrase this does not occur on the cluster (and is thus unrelated to it) but on your local computer.
The gibberish in the textbox is your public key in the format how it has to be submitted to Tecnalia. Thus, copy this text and paste it to the form.
PuTTygen & PuTTy
It is recommented to use PuTTy to connect to the login node Katea HPC. Download PuTTy here. Included is a tool called PuTTygen which is used to generate an SSH key-pair.
The SSH key pair generated with PuTTygen is used to securely connect to the server, either directly through PuTTy or when using SFTP file transfer software like FileZilla or Cyberduck.
Generating an SSH-Key
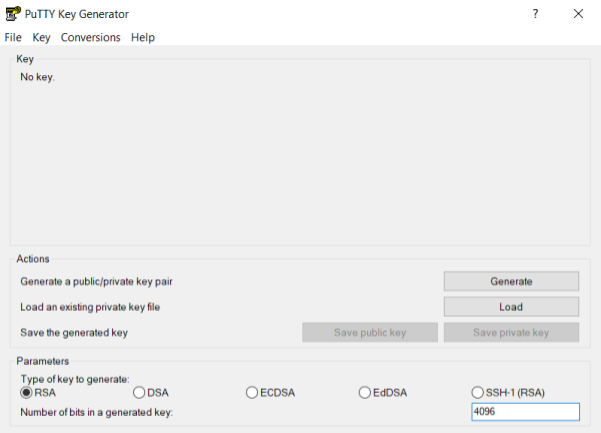
Start PuTTygen - select key type RSA and increase the number of bits to 4096:
Press generate and move the mouse cursor around. After successfully generating a key your screen will look like this:
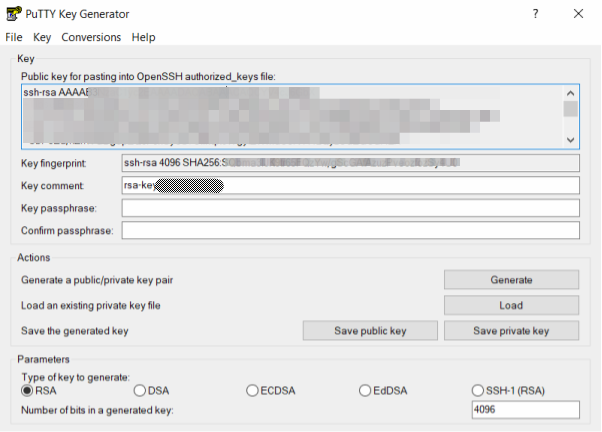
The public key is shown in the text box. Either copy and paste it into a text file, or save it by pressing the "Save public key" button. The private key (not shown!) needs to be saved as well. Press "Save private key" and place it in a directory that is out of sight (but easy for you to remember the location of).
It is OK to leave the passphrase empty. If you do choose a password then be aware that the key can not be used with SFTP file transfer software like FileZilla.
Do not share the private key file, or the content of the file. Do not send the file, even to yourself, and especially not the 'admins'.
The public key needs to be shared with the admins, and a copy of it is made in your directory on the cluster.
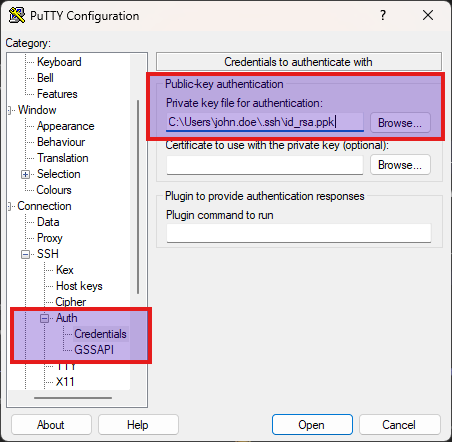
Credentials in PuTTy
Open up PuTTy and navigate to Connection > SSH > Auth on the left in the category panel. Press "Browse" next to the empty field below "Private key for authentication:" and select your private key (e.g. the *.ppk generated with PuTTygen):
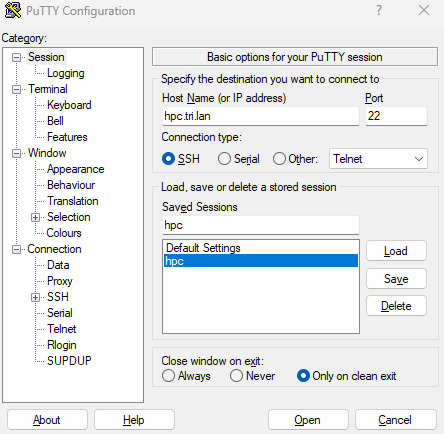
Storing the Session and Connecting
Navigate back to Session on the left and fill in "Host name" as "hpc.tri.lan". Type a name into the empty "Saved Sessions" field (for example Katea HPC) and press "Save". PuTTy will store the host information and link to the private key The administrator needs a copy of the public key to grant you access to the login node.
Now press "Open". You will now be connected (press "Accept" if prompted) to the login node. After enetering your username into the command prompt your screen should look like this:
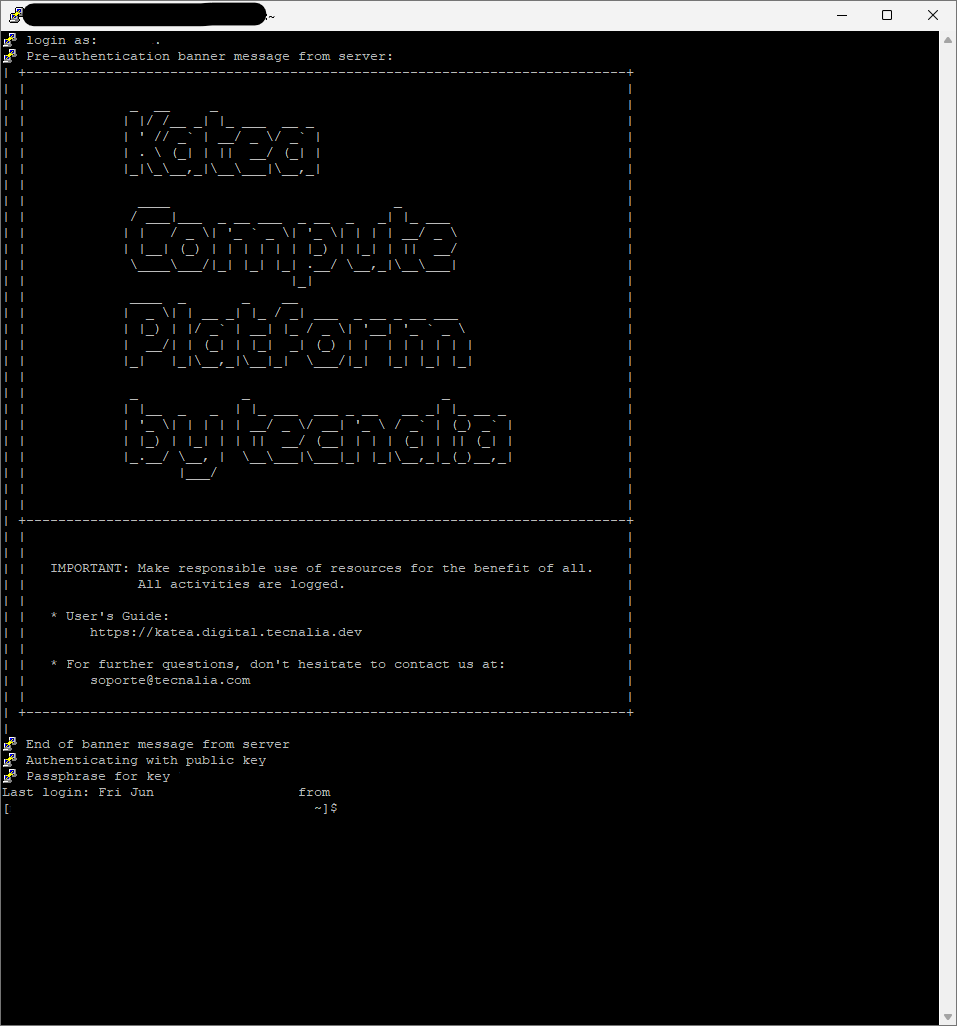
When it says Login as: use only your name.surname like john.doe
NOT john.doe@...
You are now logged in! Welcome to Katea HPC.
The next time you open up PuTTy just select the saved session "Katea HPC", and press open.