Managing Networks
Networks operations via GUI
Internal Network and Subnetwork creation
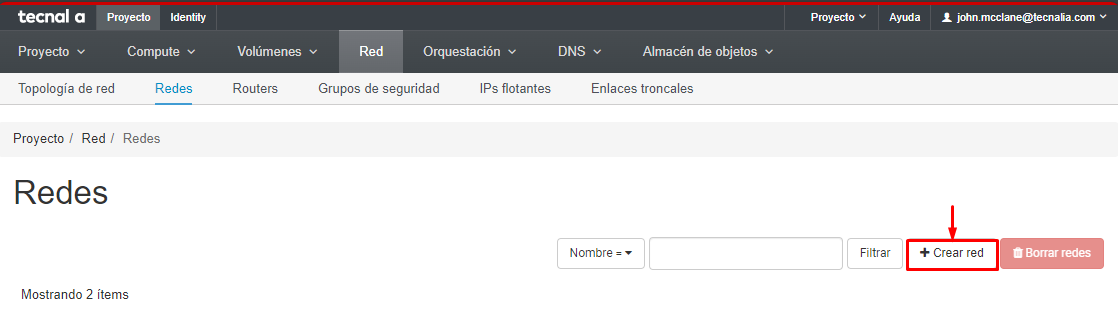
You can create a new internal network from the Network panel on Horizon.
Horizon offers you a quick way to do it from "Create Network" button Network > Networks > Create Network
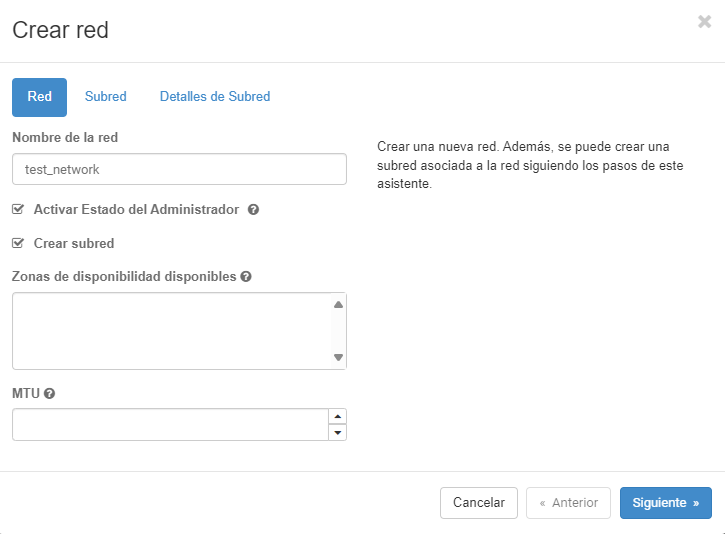
In the following steps of the wizard you must indicate the network name, the subnet name and additional configuration options for creating the network.
Step 1
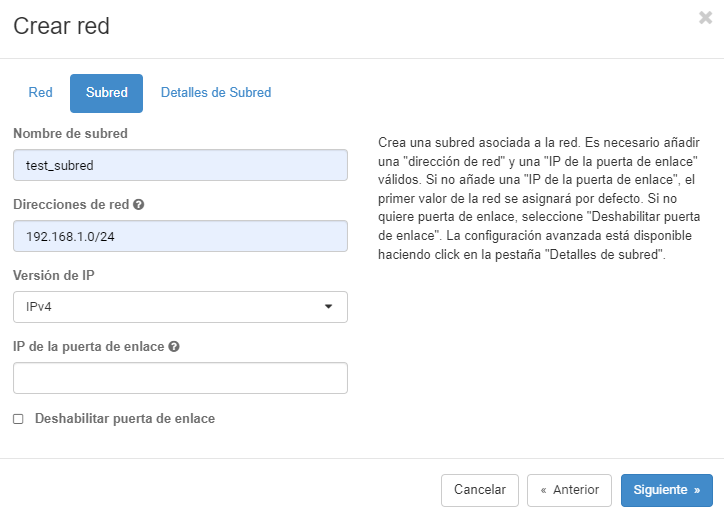
Step 2
Step 3

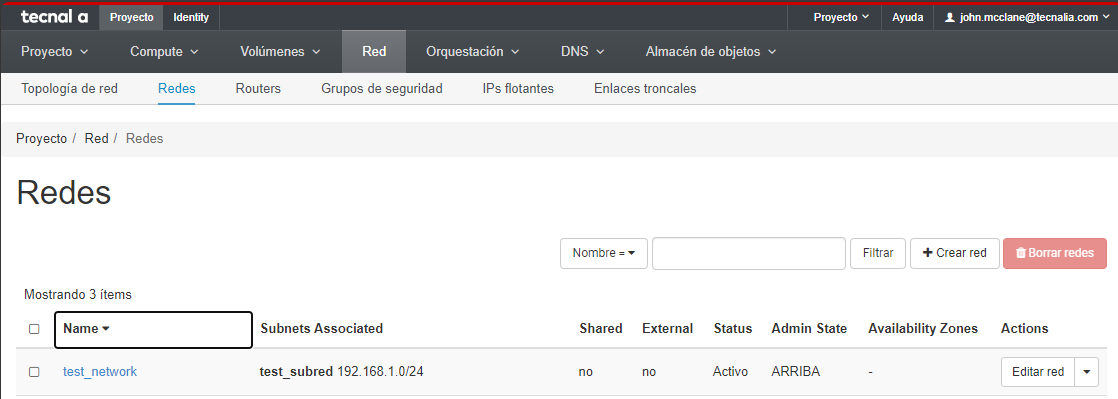
After completing the steps we will have our new internal network that we can associate with instances.
Networks operations via CLI
Internal Network creation
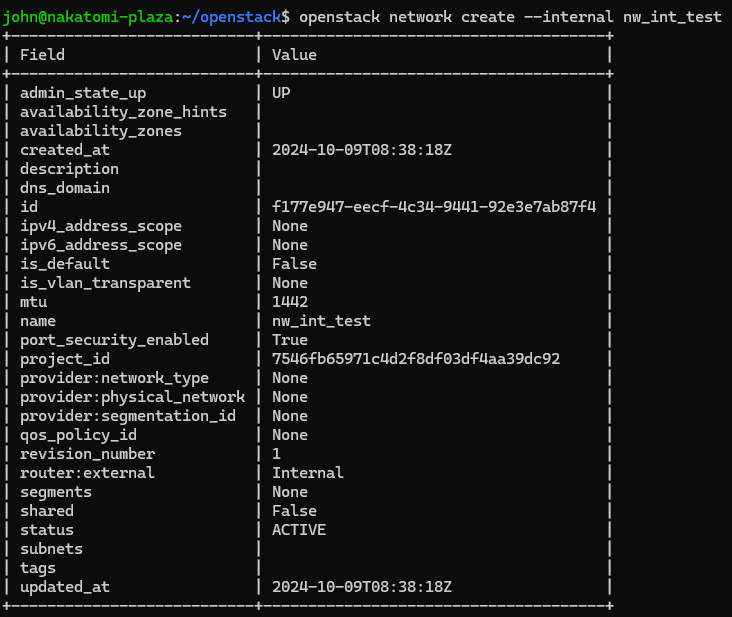
Type the following command to create an internal network in your project
$ openstack network create --internal <name>
Example:
$ openstack network create --internal nw_int_test
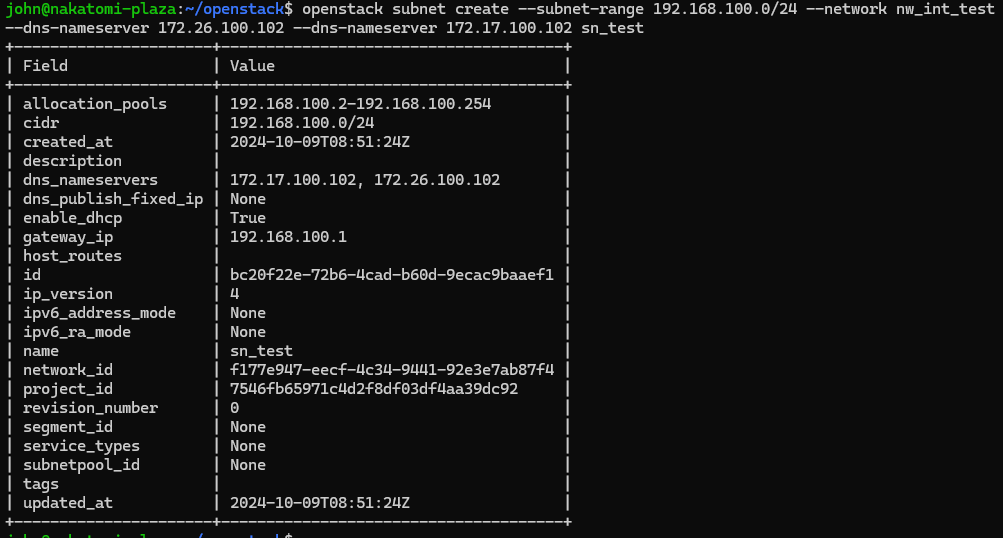
Subnetwork creation
Type the following command to create a subnet. You need to specify the internal network it will belong to and the DNS servers
If you need to know what networks you have available in the project, use openstack network list
$ openstack subnet create --subnet-range <subnet-range> --network <`nw_int_projectname`> --dns-nameserver 172.26.100.102 --dns-nameserver 172.17.100.102 <name>
Example:
$ openstack subnet create --subnet-range 192.168.100.0/24 --network nw_int_test --dns-nameserver 172.26.100.102 --dns-nameserver 172.17.100.102 sn_test
Managing Security Groups via GUI
Ensure that you review and modify security group rules according to your project's security requirements.
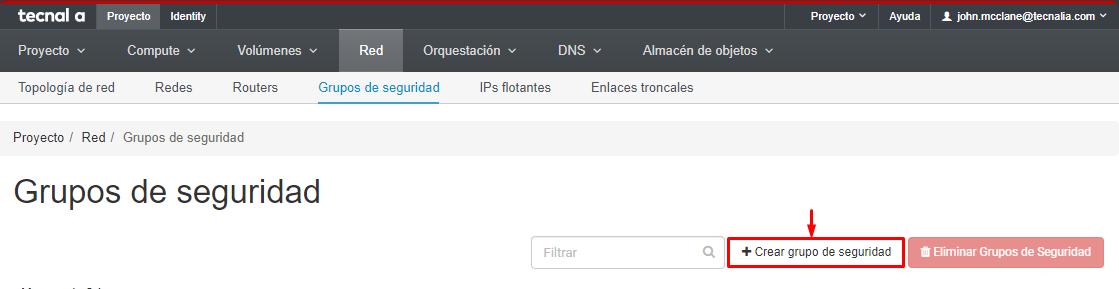
Create a Security Group
You can create a new security group from the Network panel on Horizon.
Horizon offers you a quick way to do it from "Create Security Group" button Network > Security Group > Create Security Group

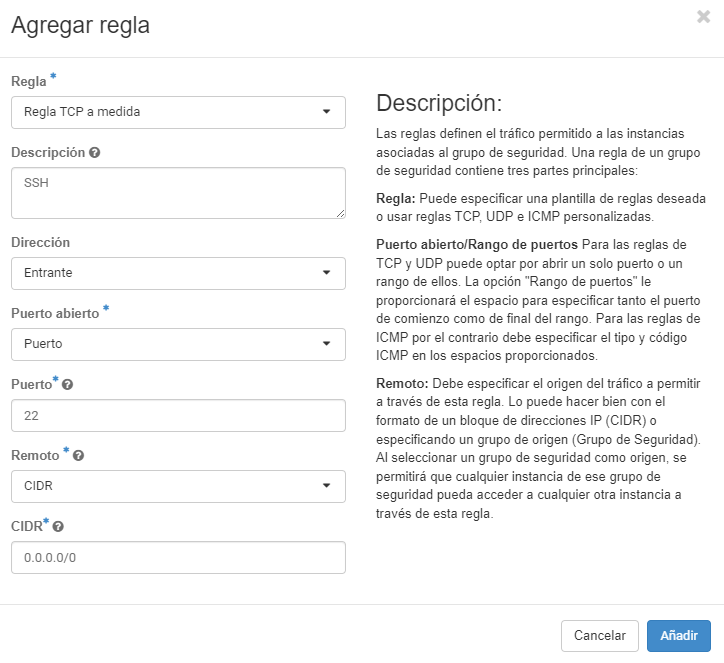
Add Rules to a Security Group
To allow specific traffic, you can add rules pushing "Add rule" button. For example, to allow SSH access
Step 1
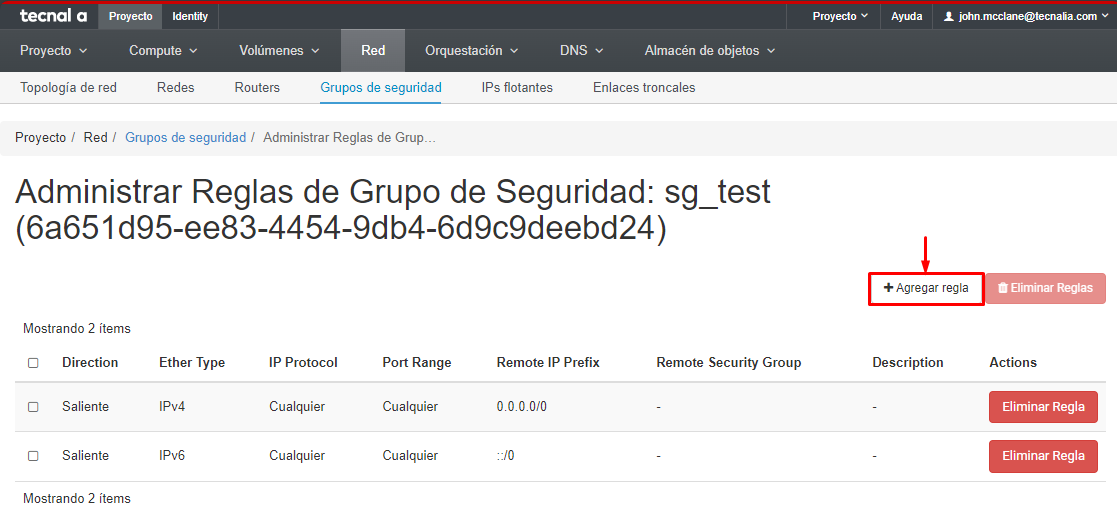
Step 2
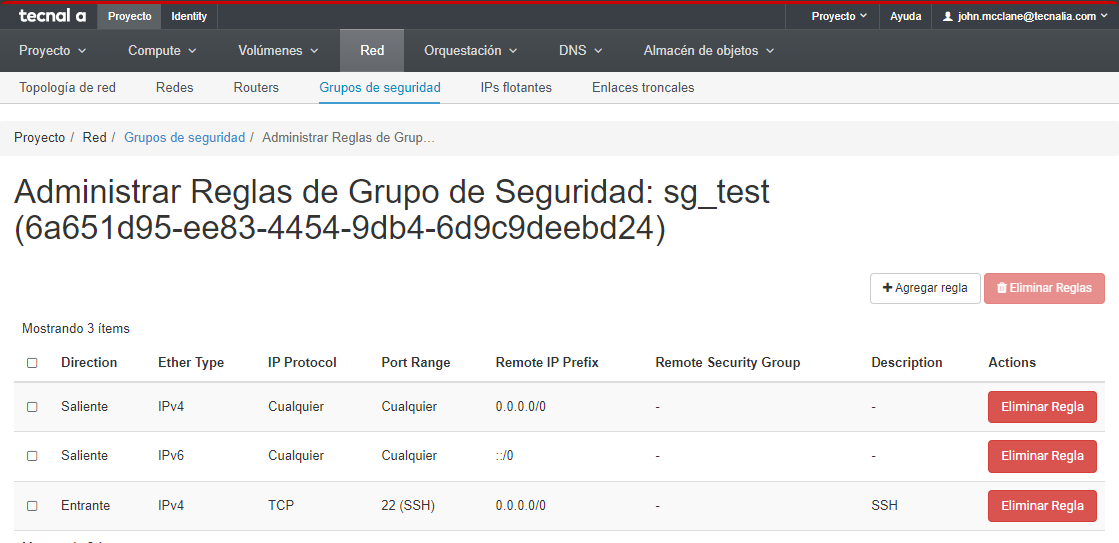
Result
Managing Security Groups via CLI
Ensure that you review and modify security group rules according to your project's security requirements.
Create a Security Group
To create a new security group, use:
$ openstack security group create <name> --description "<description>"
Replace <name> with your desired name and <description> with a brief description.
List Security Groups
To see all your security groups, run:
$ openstack security group list
Show Details of a Security Group
To view details about a specific security group, use:
$ openstack security group show <group>
Replace <group> with the name or ID of the security group.
Add Rules to a Security Group
To allow specific traffic, you can add rules. For example, to allow SSH access:
$ openstack security group rule create --proto tcp --dst-port 22 <group>
Delete a Security Group
If you need to remove a security group, use:
$ openstack security group delete <group>